1. Storage
Store horizontally on a flat surface. Protect the boards from the weather using sheets or store them somewhere dry.

2. Handling
The weatherboards should be carried by two people, holding them by the edge.
When transporting Cedral Click on pallets, always position the weatherboards tongue against tongue and groove against groove.

3. Planning
Plan your work upfront in order to ensure the best possible site organisation.
We also recommend consulting your local town planning regulations before you start working to ensure you have the necessary permits and comply with all requirements.
Follow both the installation and safety instructions.

4. Implementation
We recommend using the appropriate tools for cutting and drilling Cedral weatherboards.
Circular saw: saw blade with carbide teeth Bosch T141 HM type
Hand-held circular saw: diamond saw blade with Leitz fibre-cement tab
In all cases, sawing and drilling must be done in a dry place and the slat board must be supported. Get rid of sawing and drilling dust straightaway. Remove minor dirt with a gentle household detergent and rinse with clean water.

5. Supporting structure
The wooden vertical support beams have a minimum 65 x 50 mm section for installation with a bracket and 65 x 30 mm if installed directly on a support.
The maximum spacing between beams is 60 0mm.

6. Ventilation
In all cases, foresee a ventilated space of 20 mm minimum and provide a 10 mm/m minimum ventilation hole top and bottom.

7. Fixing
Start at the bottom of the façade by installing a Cedral starting profile and the required aluminium profiles. The starting profile is placed perfectly level and attached with appropriate countersunk screws which do not interfere with installing the first Cedral slat board.
Attach Cedral Click with a staple laid flat on the beam. Screw Cedral Lap to the beam with an overlap of 30 mm.
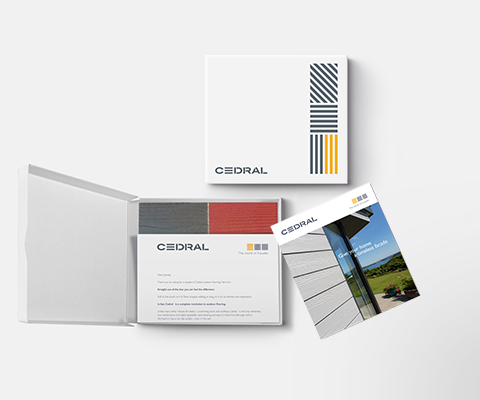
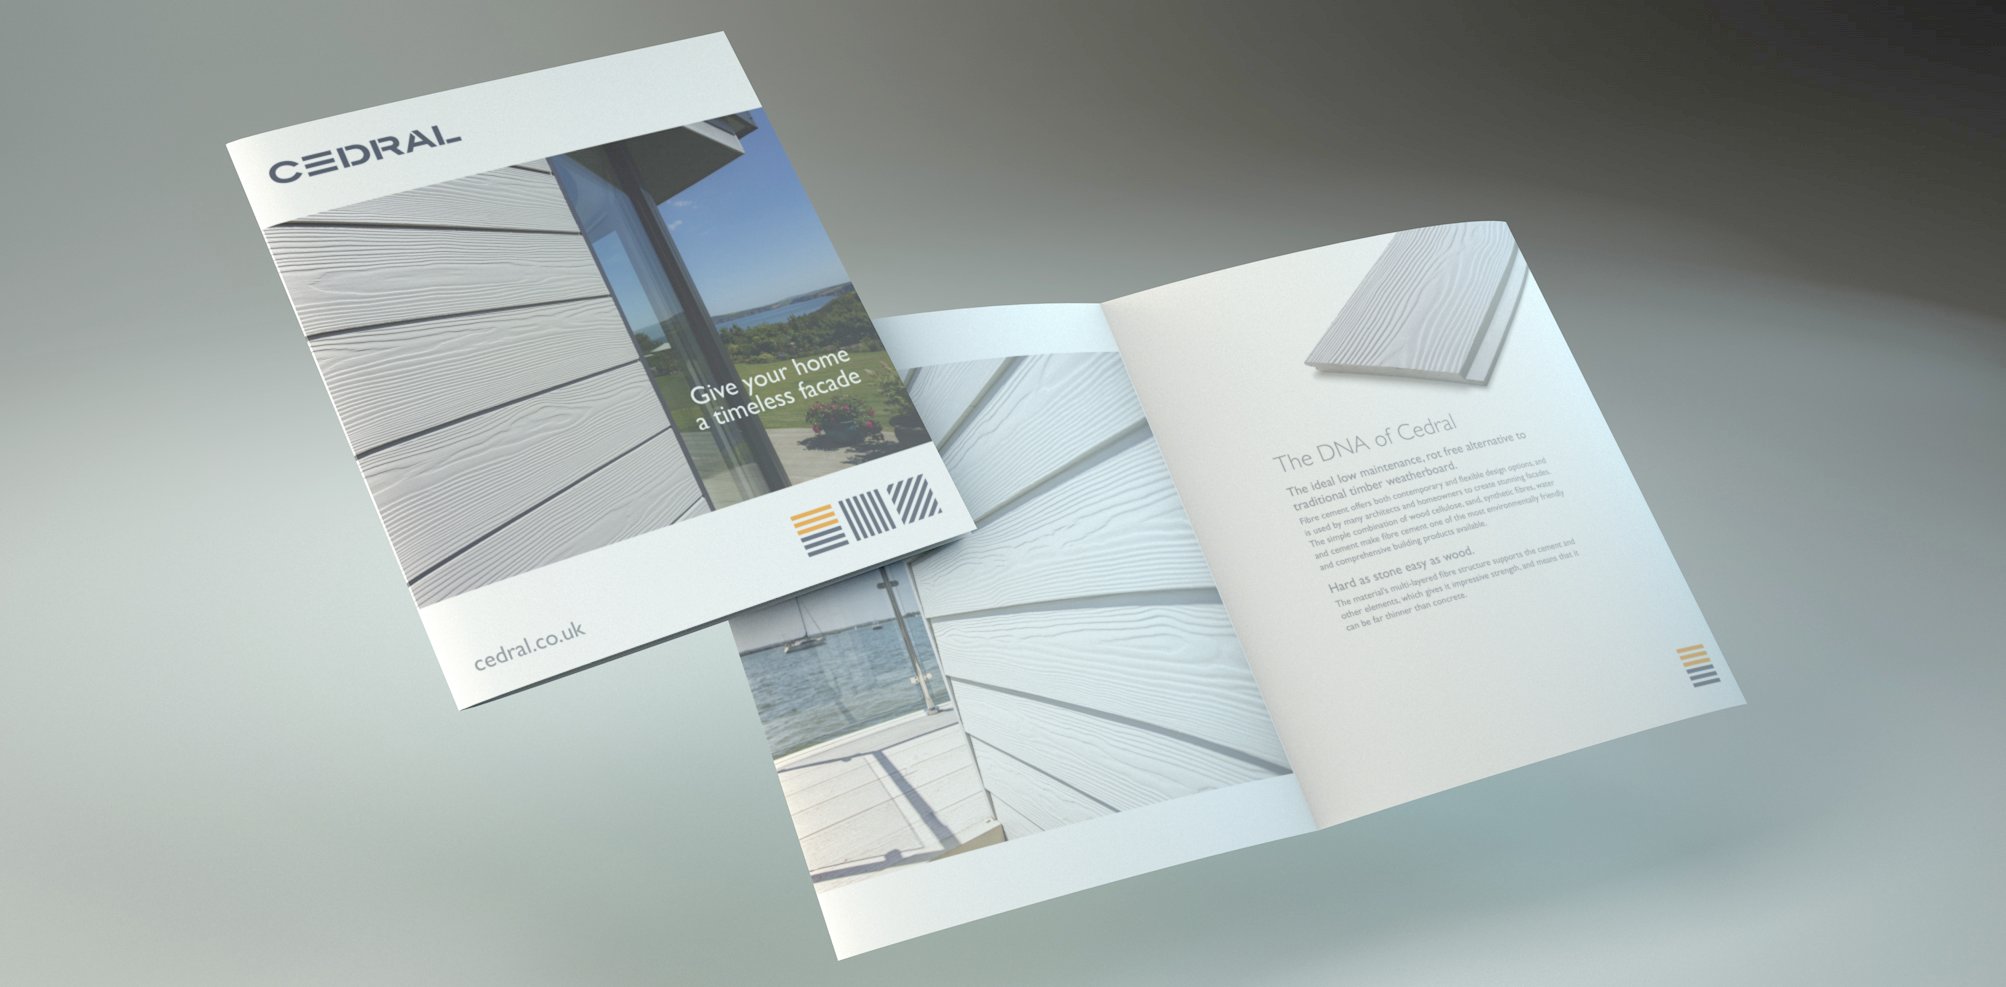
Want to see, touch and find out more about this durable material? Ask for your free sample!
Need help?
Find a dealer or an installer!
Find someone to help you with your project near your area.