Let our professionals install your Cedral facade
Get a quick price estimate and connect with your local certified Cedral Select Professional installer to arrange professional installation.
When creating or renovating your facade, you can opt for traditional horizontal sidings, but why not go for a more contemporary look and fit your weatherboards vertically for a unique stylish effect. We take you through the different steps and fixings to create a gorgeous facade for your home.
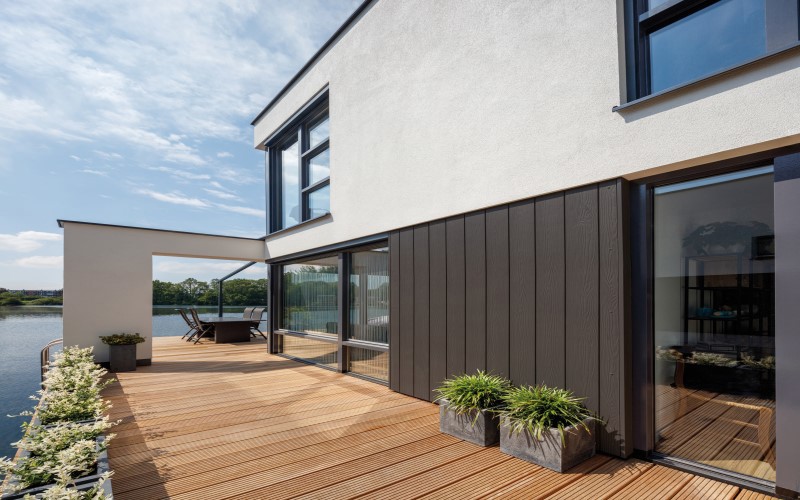
Facade cladding adds a protective layer around your home, keeping the weather out. It is compatible with a wide variety of insulation and gives your house a new look at the same time. Often, weatherboards or sidings are used to cover a facade. Traditionally these planks are placed horizontally, but it is also perfectly possible to fix the weatherboards in a vertical manner. You can find some inspiring examples at cedral.world.
There are a number of fixing variants for Cedral sidings, but the general principle is the same for all. The weatherboards need to be fixed to at least three timber battens (preservative treated and planed on two faces). A minimum 30 mm clear cavity must be left behind the Cedral cladding with a 10 mm continuous opening at the base, head and at the window and door heads and sills. This allows the air to flow freely behind the cladding in order to keep your walls and home dry.
When you follow the steps beneath, you get a good idea on how to install your weatherboards vertically. You can also watch the installation tutorials at our DIY pages. But if DIY is not your thing, you can easily find a Cedral Select installer near you.
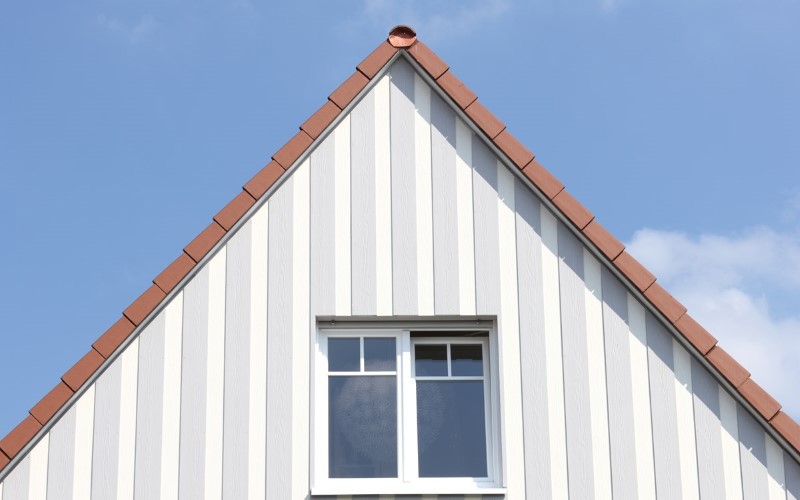
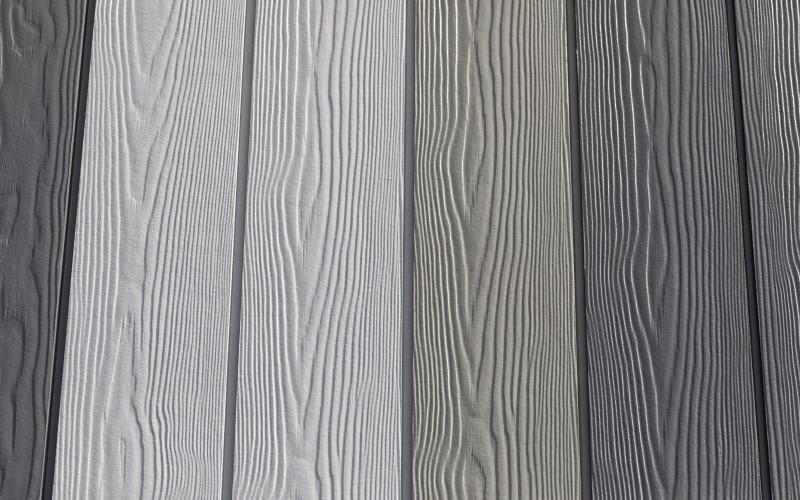
Decide on the lay of the planks. Cedral weatherboards can be installed vertically in 5 different ways: undulating (under and over pattern), flat (next to each other), lapped (40 mm overlap), open joint (with 3-12 mm gaps between) and Cedral Click (tongue and groove system). The lay determines the looks of your facade but also the installation.
Fix timber battens to the wall. Always place the vertical counter battens first to create up-down ventilation behind your cladding. Or use adjustable wall brackets instead. Next, attach the horizontal battens to which you fix the weatherboards.
Fit perforated closures to the top and bottom of the vertical timber battens, but also above each door and below/above each window. If you use adjustable wall brackets, then fix the perforated closure to the rear of the top and bottom of the vertical battens. Adjust the brackets accordingly to ensure the rear gap is completely closed.
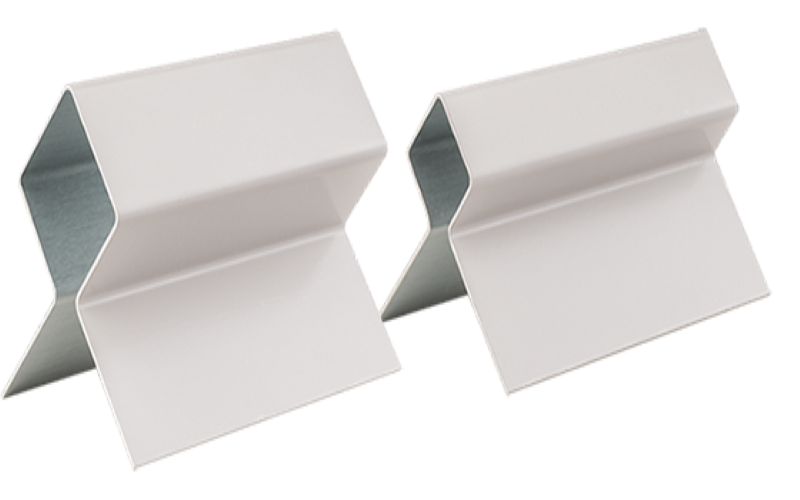
Install the right Cedral Lap profiles. There are 6 profiles available for Cedral Lap: for internal corners, external corner junctions, external corners (symmetric), connection profiles, end profiles and external corners / window reveals (asymmetric). Use them to finish the corners, doors and windows.
For Cedral Click, choose from the 4 specific profiles for the Cedral tongue and groove system: vertical start profiles, internal corners, external corners / window reveals and connection profiles.
All Cedral profiles exist in the same colours as the boards so that you hardly notice them.
Each lay pattern has its own system to fix the planks to the horizontal battens. EDPM rubber sheeting must be used on front of the horizontal battens to protect them from any water infiltration and moist.
In these lay patterns, the screws are visible. Cedral has screws in the colour of the weatherboards to create an immaculate facade till the very last detail.
Cedral Click sidings have a special tongue and groove system to create a flat contemporary facade, without apparent screws (Cedral Lap lay patterns always have visible screws). Also here, EDPM rubber sheeting must be used on the horizontal battens to protect them.
First install all profiles (corners, connections, start profile). Slot the first plank into the starter profile and screw the Click Clips onto every batten to fix the edge of the plank into place. Slot the next weatherboard into the clips that you just fixed, and place a new series of clips onto this new plank and screw them into place. And that way, you continue along the facade until complete. Only on the final plank, the fixings will be visible. Use the Cedral screws in the colour of the planks for a perfect result.
Want to play around with the different colours, finishes and installations? The Cedral visualisation tool available to download on the App Store and Google Play shows you the endless possibilities. Or request a sample and see and touch the weatherboards yourself.
Get a quick price estimate and connect with your local certified Cedral Select Professional installer to arrange professional installation.
Share your #mycedralworld
project on social media